This page explains how to set up a basic wardrobe for clothes and accessories.
Tutorial
- Create an object that represents a wardrobe category (for example, clothes, hair, or accessories).
Right-click the avatar object and select
Create Empty.
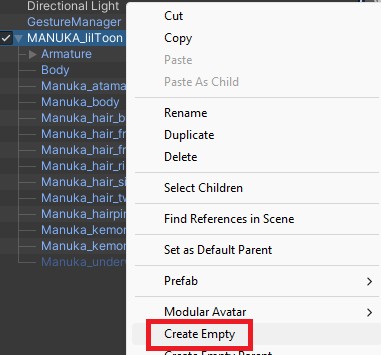
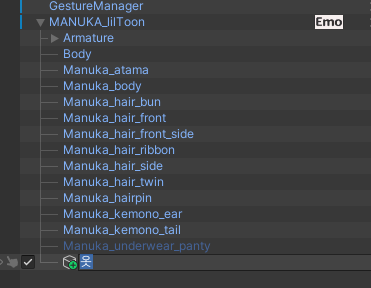
- Rename the new object to match its purpose.
In this guide, we use
Clothesas an example.
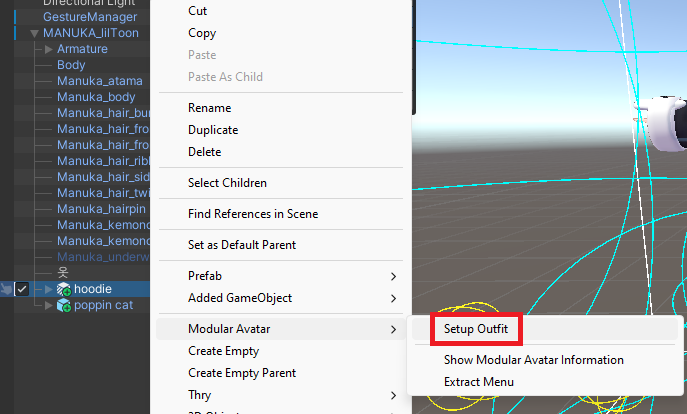
- Add an outfit to your avatar so it is in the worn state. This example explains the setup using Modular Avatar.
- Move the worn outfit object under the
Clothesobject you created earlier.
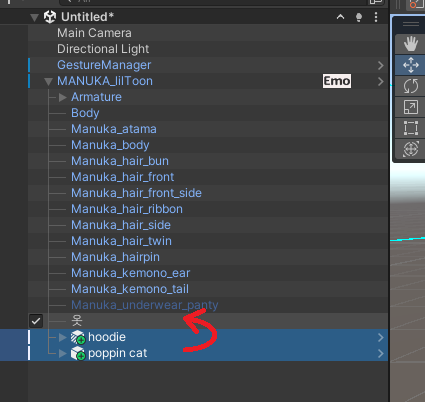
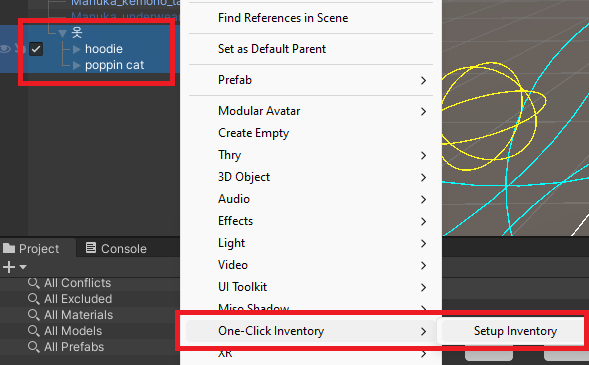
- Select both the
Clothesobject and the outfit object. Then runOne-Click Inventory/Setup Inventoryfrom the right-click menu.
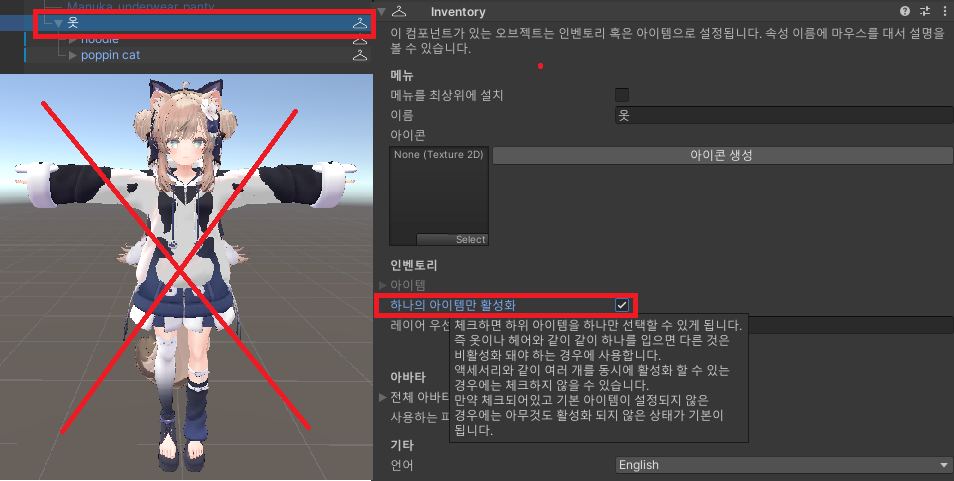
- Select the
Clothesobject, then enable[Enable only one item]in the Inspector. For clothing categories, enabling multiple items at the same time usually causes overlapping visuals, so single-item mode is generally recommended.
In terms of older wardrobe systems, this behaves similarly to an int wardrobe setup.
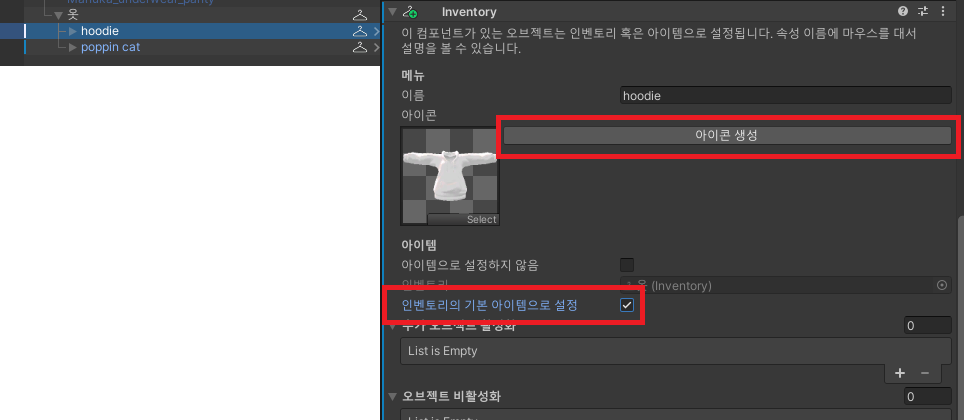
- Select one outfit item, click
[Generate icon]in the Inspector, and then check[Set as default item of inventory]. If no default item is set, your avatar may start with clothing disabled by default.
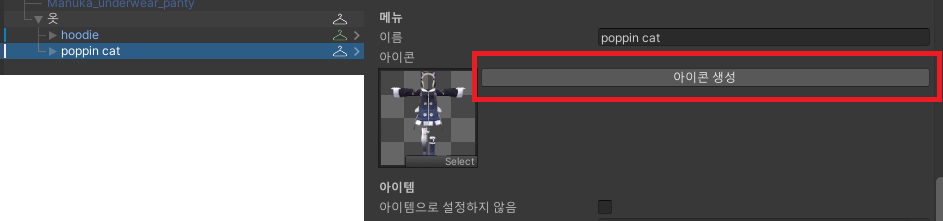
- For the remaining outfits, click
[Generate icon]the same way to create their icons.
- When setup is complete, test it with Gesture Emulator or by uploading to VRChat.
Notes (Read First)
For stable behavior, One Click Inventory is recommended with Write Defaults set to ON.
When it is OFF, some switching/restoration behavior may not work as intended.
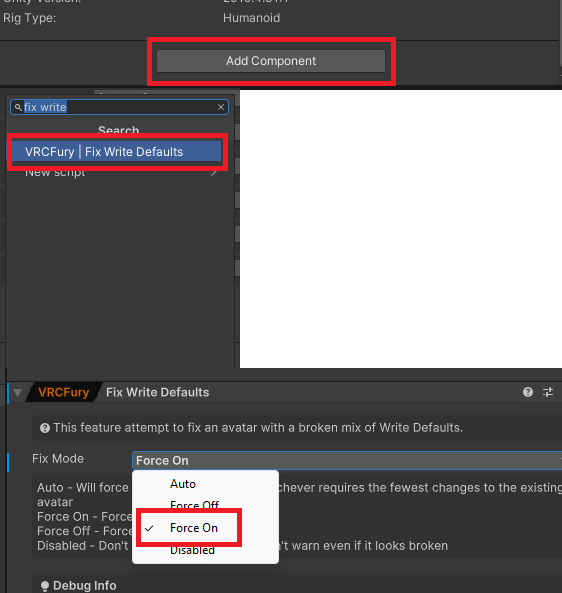
If managing Write Defaults manually is difficult, you can use VRCFury .
After installation, refer to the VRCFury documentation, add [Fix Write Defaults] to your avatar, and set it to [Force On].
Additional information about Write Defaults:
https://creators.vrchat.com/avatars/
Additional Information
One Click Inventory works non-destructively.
Your setup is applied when entering Play mode or uploading, and you can restore the original state by removing the added [Inventory] components if needed.