Video
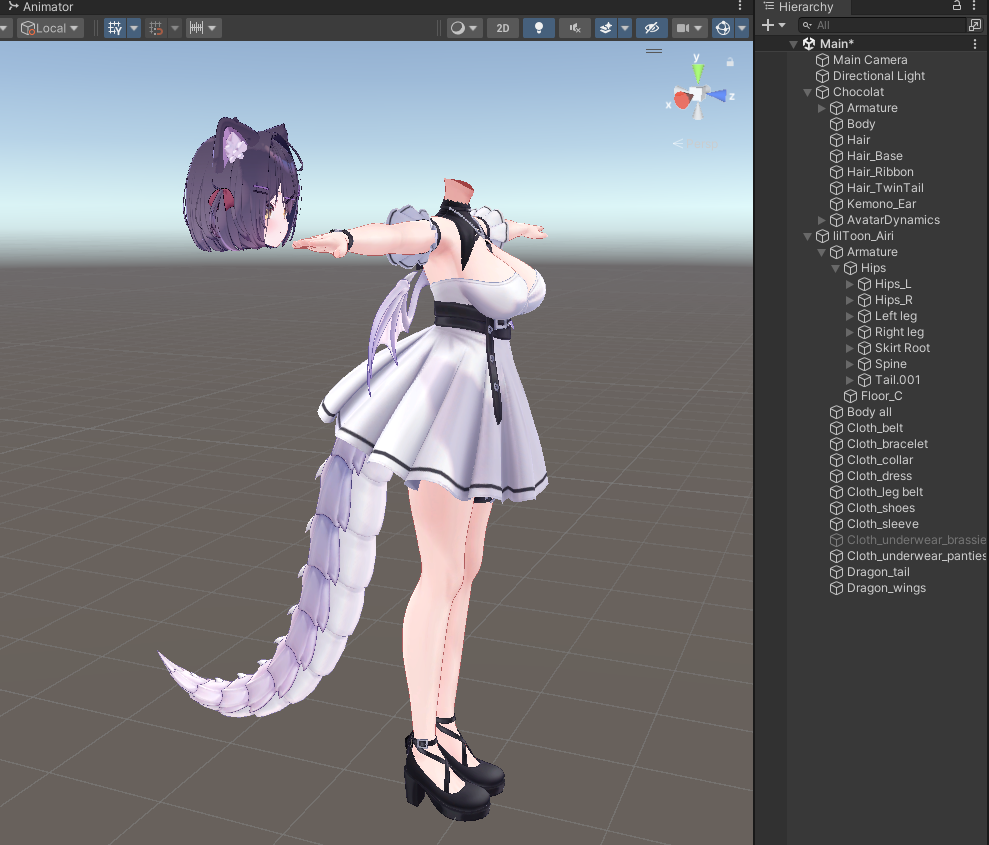
1. Prepare Avatars
Prepare one avatar for the head and another for the body.
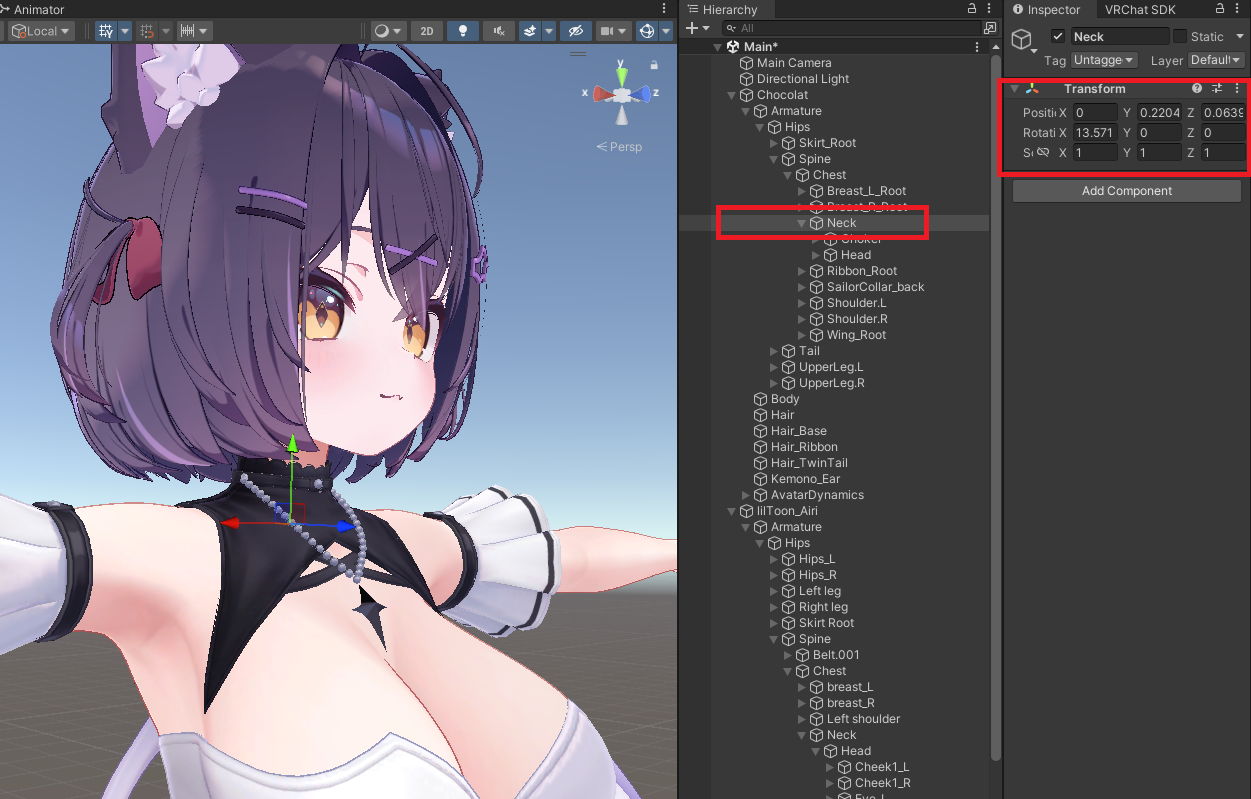
2. Align Neck Bone Position
Align the head Neck bone position to the body’s neck position as closely as possible.
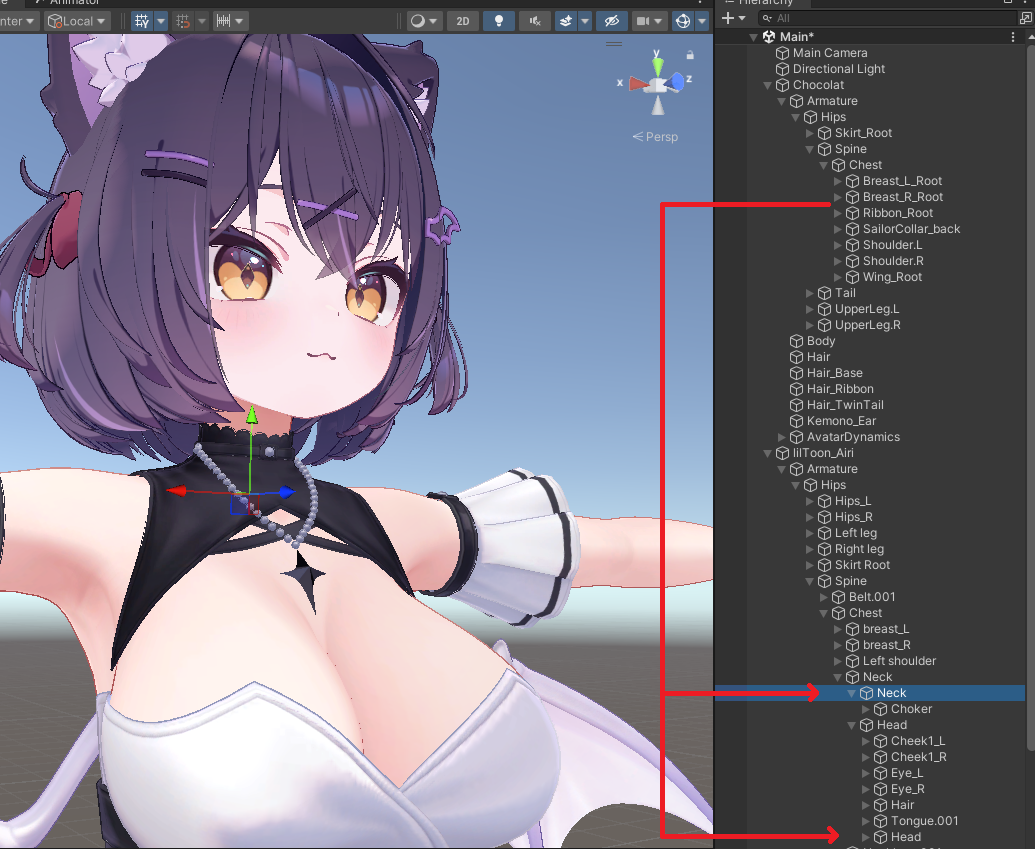
3. Organize Head/Neck Bone Hierarchy
Reorganize the head and neck bones under the body hierarchy.
- Head neck bone -> under the body’s neck bone
- Head head bone -> under the body’s head bone
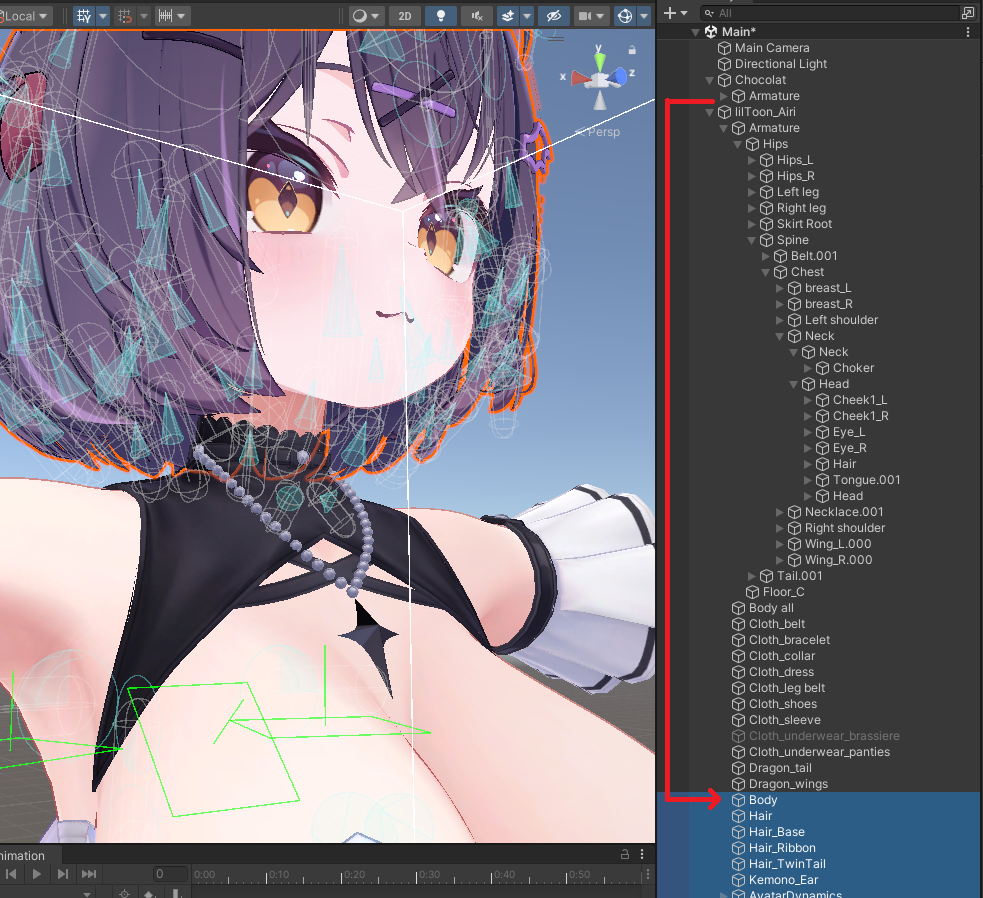
4. Organize Objects
- Move objects other than Armature into the target avatar
- Delete unnecessary source objects after cleanup
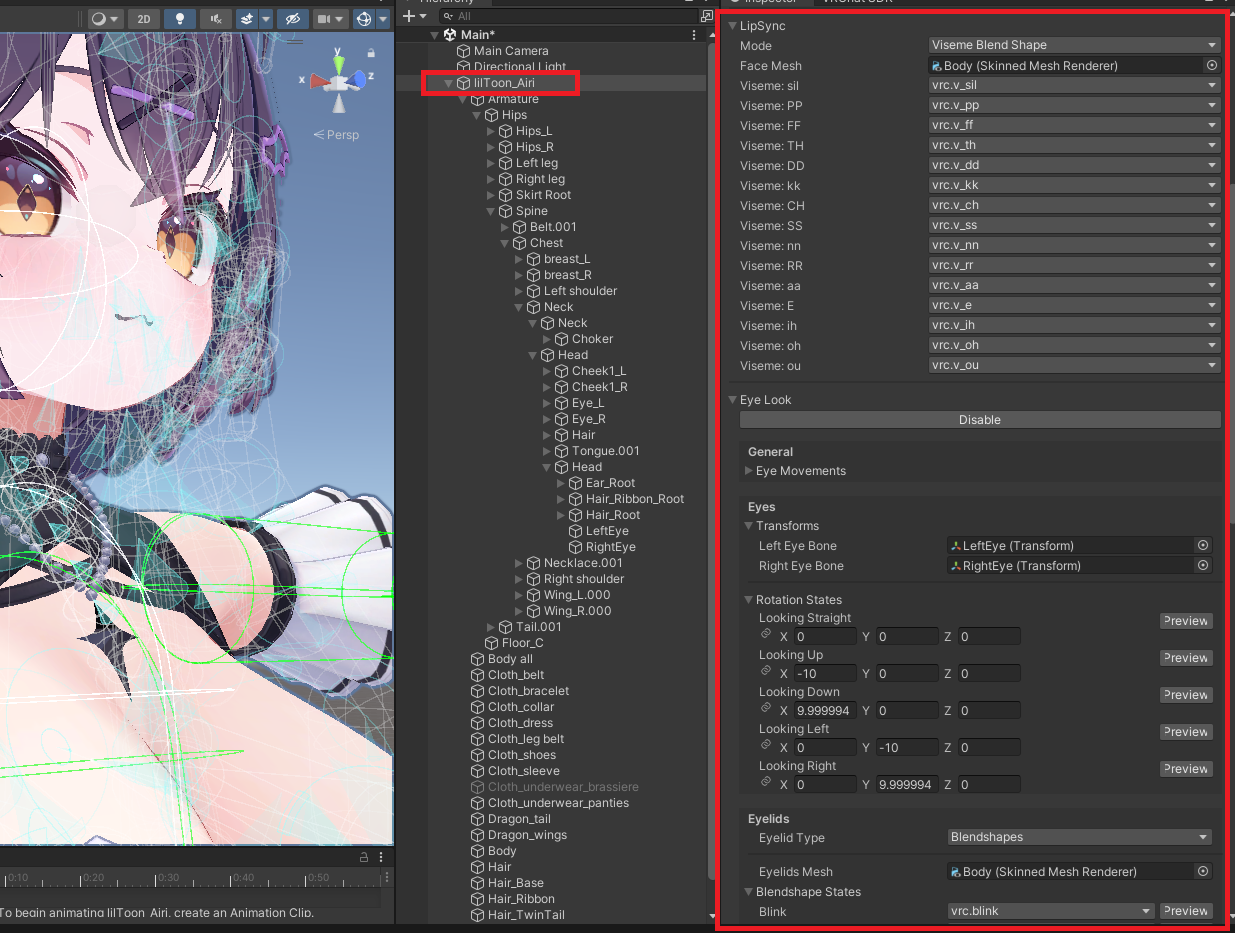
5. Reconfigure Avatar Descriptor
Readjust Viewpoint, Lip Sync, and Eye Look based on the merged head.
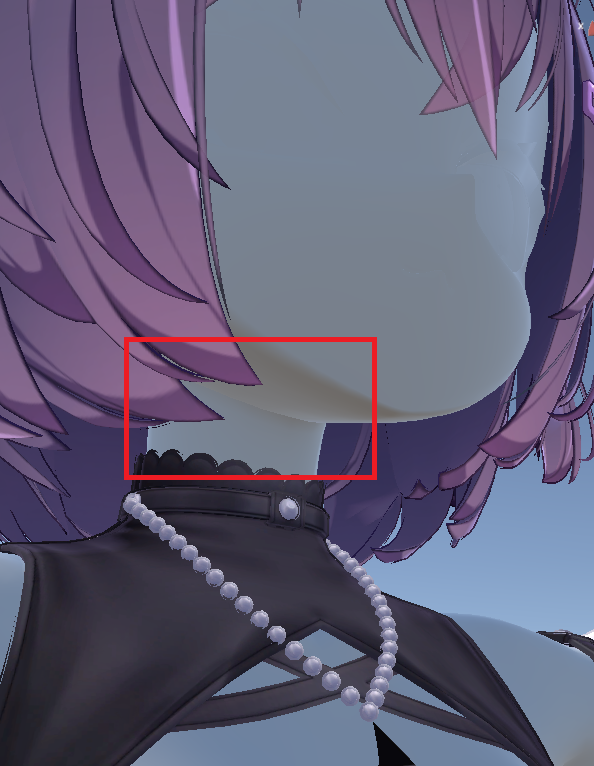
6. Check Base Materials
Match the base material tone between face and body first, then identify where neck seams are noticeable.
7. Set Up Merge Tool Component
- Create an empty
GameObject - Add
[Merge Tool]component - Assign face/body Mesh Renderers respectively
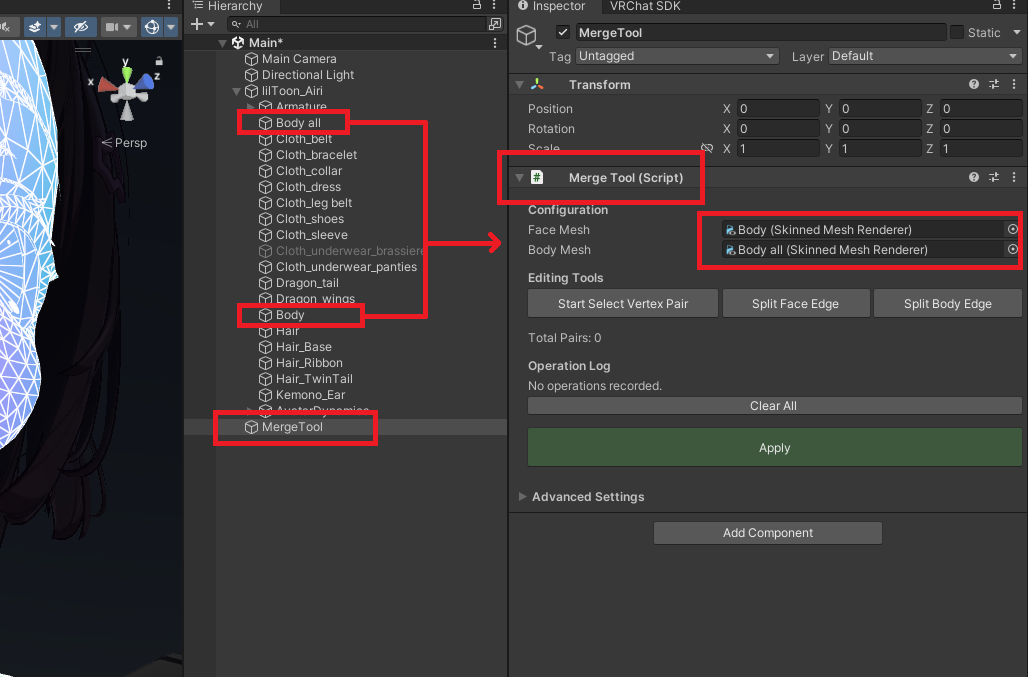
8. Select Vertex Pairs and Apply
- Click
[Start Select Vertex Pair] - Alternate selection: 1 face mesh vertex -> 1 body mesh vertex
- If vertex counts differ, use
Split Face Edge/Split Body Edgeto assist - Click
[Apply]when finished
If the editor handle is not visible, enable Gizmos in Scene View.

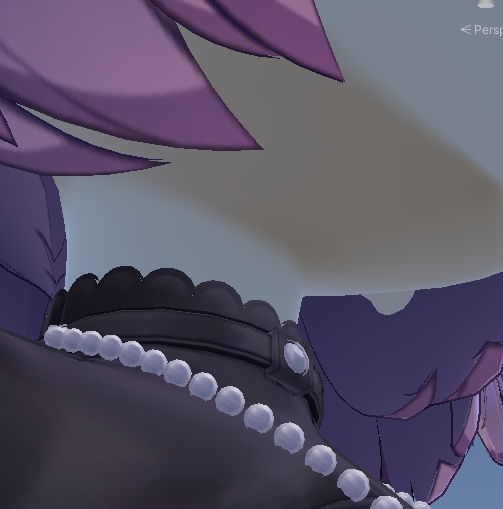
9. Verify Result
Check whether the seam is smoothly connected.
10. Finalize Texture/Material
Finally, match face/body color and material settings to finish.

Last updated on